
1500 Cans Donated
Nana’s Lemon Jelly Cake

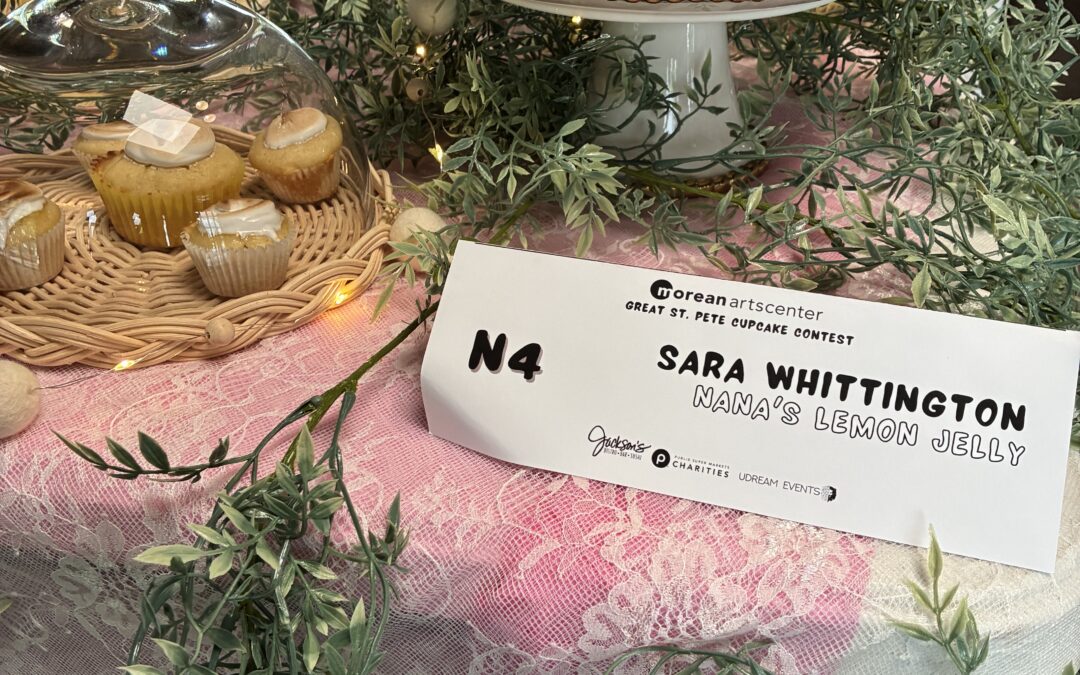
Sara Whittington’s Lemon Jelly Cupcakes
This recipe is modified from my Nana’s (Great Grandma’s) Lemon Jelly Cake recipe,
which is rumored to have been her grandma’s recipe. This is a cake she would keep
under her cake plate for when company would come to visit her and her husband (Old
Papa) in Brookhaven, MS. I am the last person in my family to have made this recipe, it
was something my Papa (Grandfather) would enjoy eating while making some very loud
“mmmm yummy” noises. Making this recipe always felt like an invitation to feel
connected to my family, to a special part of our shared history. I hope it makes you feel
connected to me when you make it!
Lemon Cupcakes
3 cups plain flour
2 cups sugar
4 eggs separated
1 cup milk
1 cup room temperature butter
2 teaspoons cream of tartar
1 teaspoon baking soda
1 teaspoon salt
1 teaspoon vanilla extra
1 lemon, juiced and zested
1. Preheat the oven to 375. Prep the muffin tin with butter or nonstick spray, then spoon in several
spoonfuls of flour into each cup. Spread it around so each cup has a thin dusting of flour,
dispose of excess flour.
2. Whisk the egg whites to stiff peaks, in a stand mixer (or hand mixer). Set aside.
3. Sift the flour, cream of tartar, baking soda, and salt into a mixing bowl. Set aside.
4. Cream and butter and sugar with the paddle attachment in a stand mixer for several minutes
until they’ve changed color slightly, and have created a light and airy homogeneous mixture.
Scrape down the bowl. Slowly add the egg yolks, one at a time. Mix at a medium low speed.
Once fully incorporated, slowly add the milk, continuing to mix at a medium low speed. Once
fully incorporated, add the vanilla, lemon juice, and lemon zest. Once fully incorporated, turn the
mixer speed down to low, and very slowly add the flour mixture. Mix until barely combined, it is
important that it is not overmixed. Scrape the excess batter from the paddle attachment, and
mix the batter with a spatula, to make sure all the flour has been combined, and there isn’t
anything left unmixed at the bottom of the bowl.
5. Add half of the egg white mixture, and gently fold it into the batter, making sure not to deflate the batter. Once combined, add the other half of the egg white mixture, folding until fully combined.
6. Fill the muffin tins ⅔ full of batter. Bake for 11 minutes, check for doneness by sticking a toothpick in a cupcake, and it comes out clean.
7. Once the cupcakes are done, cool them in the tin for a bit on a cooling rack, then carefully
remove them from the tin and have them cool fully on the rack.
8. While the cupcakes are baking, make the curd.
Lemon Curd
1 ½ cups sugar
3 tablespoons butter, room temperature
3 eggs, beaten
Rind and juice of 3 lemons
1. Get a pot of water less than ½ full boiling on the stove.
2. In a heat safe bowl (I prefer glass), beat the eggs until they are homogenous. Add the other
ingredients, stir to combine, until homogenous.
3. Place the bowl on top of the pot of boiling water. Stir often, to avoid having the eggs scramble.
You’ll know the curd is done when it coats the back of a metal spoon, and you can draw a line in
the curd with your finger on the back of the spoon.
4. Have the curd cool completely before using it as filling for the cupcakes. Cut the cupcakes in
half horizontally, and add several spoonfuls of curd as a filling (like a mini layer cake).
5. The curd can be made in advance, and kept in the fridge for a week. The curd can also be
canned, and kept shelf stable for 3 months.
If traveling with lemon curd, and attempting to bring it through TSA, ensure they are in 3 oz
containers, otherwise you’re in for a lot of trouble. Get a cup of ice once you’re through TSA and
store the lemon curd with the ice in a ziplock bag.